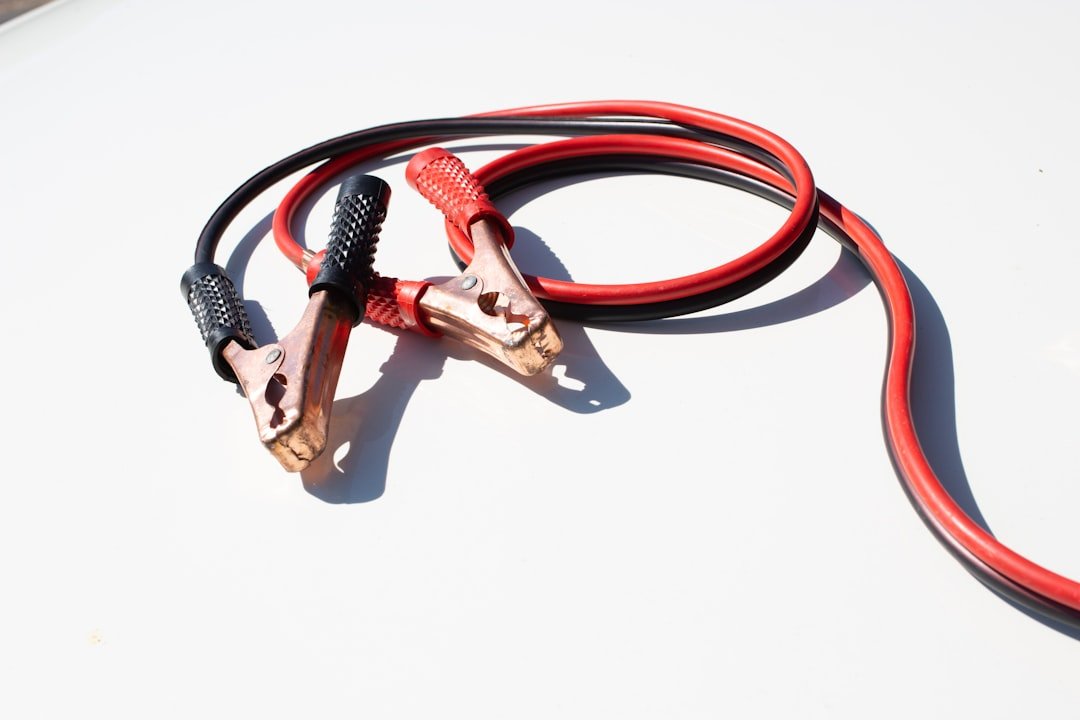
Turn off both vehicles, set their parking brakes, and keep the clamps apart before you touch either battery. That pause is the foundation of how to jump start a car safely, because a live clamp can arc if it touches body metal or another clamp. If you need to know how to jump start a car safely without damaging the battery, inspect the battery first and use the correct connection order.
Do not jump a battery that is cracked, leaking, badly swollen, frozen, or giving off a strong rotten-egg smell. Walk away from that one. A damaged battery can release flammable gas, and a frozen battery may crack or burst when charging current hits it.
What you need before you start
You need a working donor vehicle with a similar 12-volt electrical system, or a properly charged portable jump pack, plus decent jumper cables. Keep metal tools away. Most passenger cars, trucks, and SUVs use 12-volt systems, but confirm the voltage on both vehicles before connecting anything.
Park the vehicles close enough for the cables to reach, but do not let them touch. Put both transmissions in Park or Neutral, apply the parking brakes, and switch off lights, climate control, audio, and other electrical loads. Turn the ignitions off. On keyless cars, move the key fob away from the vehicle if the manual tells you to do so.
Find the positive and negative terminals before opening the clamp jaws. Positive usually has a red cover or a plus sign. Negative has a minus sign and may connect to the body with a black cable. Some newer cars place the battery elsewhere and provide underhood jump terminals, so use those designated points rather than hunting for the battery.
How to jump start a car safely step by step
Read the owner’s manual first if it is available. It is a short delay. Manufacturers sometimes specify a particular ground point, a remote positive terminal, or a procedure for vehicles with battery sensors and start-stop systems.
| Order | Clamp connection | Why it goes there |
|---|---|---|
| 1 | Red clamp to positive terminal on the dead battery | Starts with an unpowered connection. |
| 2 | Other red clamp to positive terminal on the donor battery or jump pack | Completes the positive side first. |
| 3 | Black clamp to negative terminal on the donor battery or jump pack | Keeps the final connection away from the weak battery. |
| 4 | Other black clamp to clean, unpainted engine or chassis metal on the disabled vehicle | Reduces spark risk near the battery. |
Make each connection firmly, and do not allow the clamps to touch each other at any point. The final black clamp should go to a substantial unpainted metal bracket, engine lifting point, or manufacturer-designated ground on the vehicle with the dead battery. Keep it away from fuel lines, moving belts, and the battery itself.
Start the donor vehicle if you are using one, then let it idle for a minute or two. Do not rev it hard. A steady idle gives the disabled vehicle some support without creating unnecessary voltage swings, and it is kinder to both vehicles’ electronics than repeatedly blipping the throttle.
Try starting the disabled vehicle for no more than about five seconds at a time. Pause between attempts. If it does not start after two or three tries, stop and reassess rather than cranking until the cables get hot or the starter smells burnt.
Once the disabled car starts, leave both vehicles running for a moment. Then remove the clamps in reverse order: black clamp from the revived vehicle’s ground, black clamp from the donor negative terminal, red clamp from the donor positive terminal, then red clamp from the revived vehicle’s positive terminal. Do not let the loose clamp ends meet.
How to avoid damaging the battery and electronics
Polarity is the big one. Connecting red to negative or black to positive can cause an immediate spark, blow a main fuse, damage electronics, or ruin a battery. If you are unsure which terminal is which, stop and check the markings rather than guessing from cable color alone.
Use a jump pack or donor vehicle with the same 12-volt system. Heavy trucks, some older equipment, and commercial vehicles may use 24 volts. Connecting a 24-volt source to a 12-volt car can damage electrical components very quickly.
Do not connect the final negative clamp directly to the dead battery unless the vehicle manual specifically calls for it. Batteries can vent hydrogen gas during charging, especially when weak or overcharged, and the final connection is where a small spark is most likely. A chassis ground puts that spark farther away.
A jump start only gets the engine running. It does not recharge a deeply discharged battery quickly. Drive the vehicle for at least 20 to 30 minutes if it is running normally, preferably without a lot of short stops, then have the battery and charging system tested if the issue repeats.
Be cautious with start-stop cars and vehicles packed with modules. Many are fine to jump through the marked terminals, but some have battery monitoring sensors that can be damaged or confused by improper connections. A manual is better than internet guesswork here.
When you should not use jumper cables
Do not use cables when the battery case is physically damaged or when you suspect it is frozen. That is a no-go. Call roadside assistance or have the vehicle transported to a shop.
Skip a traditional jump if the car has an unknown electrical fault, visible burned wiring, smoke, or repeated blown fuses. A dead battery is common, but it is not the only reason a vehicle will not start. More current may make a wiring problem worse.
Fully electric vehicles need extra care. Their high-voltage battery is not a jump source for another vehicle, and many EV manuals prohibit using the car as a donor even though they have a 12-volt battery. Follow the manufacturer procedure exactly, or use a roadside service familiar with that model.
Hybrids also vary. Some can be jump-started only at designated 12-volt points, while others have specific instructions for putting the system into Ready mode. Never touch orange high-voltage cables or components. Those are not part of a normal jump-start procedure.
If the car still will not start
Listen to what happens. One rapid click often points toward low battery voltage or a poor connection, while a single heavy click can indicate a starter issue, and no sound at all may be a fuse, switch, immobilizer, or cable problem.
Check your clamp contact before trying again. Corrosion on the battery posts can prevent current flow even when the clamps appear attached, and a clamp biting only a plastic cover or loose terminal will not do much. Clean terminals carefully with the vehicle off, using proper eye protection.
If the engine starts and then dies soon after the cables come off, the battery may be unable to hold a charge or the alternator may not be charging it. Do not assume which one failed. A parts store, shop, or dealer can test the battery and charging system, and testing is usually cheaper than replacing parts on a guess.
Frequently asked questions
Can I jump start a car in the rain?
Usually, yes, if the cables and battery area are in normal condition. Keep your hands and clamps dry where possible. Do not jump a damaged or flooded vehicle.
How long should I leave jumper cables connected?
One to two minutes before the first start attempt is often enough with a good donor source. Give it longer if the battery is very low. Avoid leaving cables connected for long periods with both vehicles idling.
Can a portable jump pack damage my car?
A quality 12-volt jump pack used with correct polarity is generally a practical option. Check its charge level and instructions first. Do not use a pack with damaged leads, a swollen case, or unclear voltage labeling.
Why does my battery keep going dead?
The battery may be worn out, the alternator may not charge properly, or something may be drawing power while parked. Start with a battery and charging-system test. That gives you a useful direction before buying parts.
Related posts
This article is for general informational purposes only and is not mechanical, legal, financial, or insurance advice. Prices, insurance rates, tax credits, and manufacturer-stated fuel economy or EV range are estimates that change over time and vary by vehicle, region, and provider — always verify current figures with a dealer, mechanic, insurer, or official source before making a decision.
Disclosure: This post may contain affiliate links. If you click through and make a purchase, we may earn a commission at no extra cost to you. We only recommend products we’ve researched or genuinely believe in.