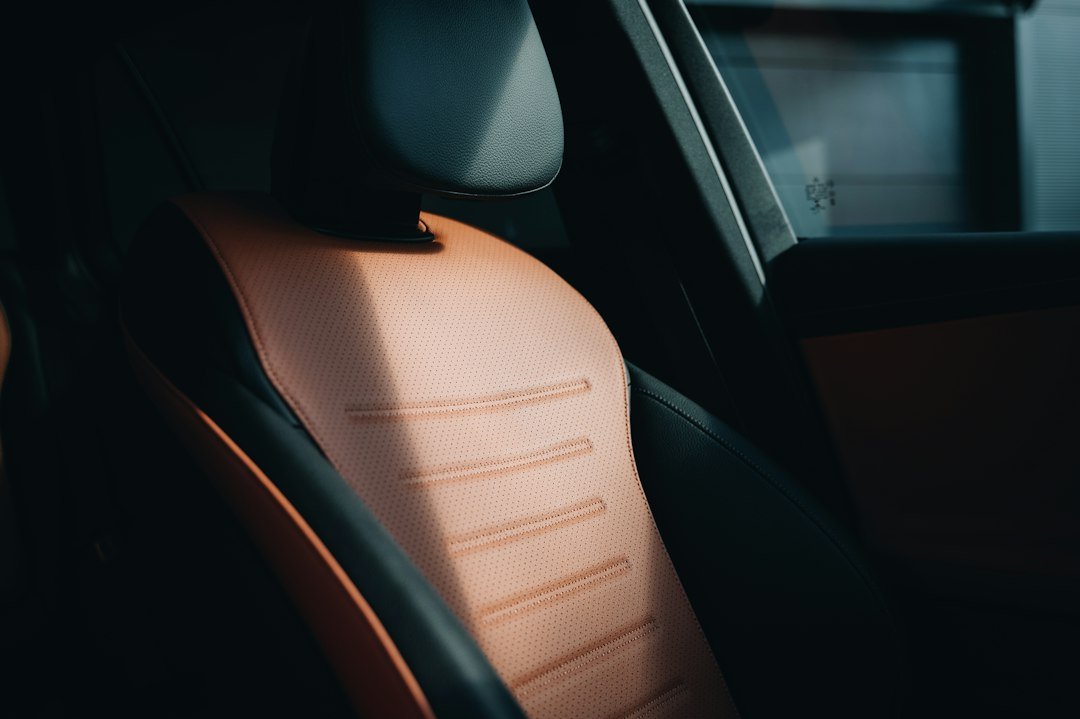
If your car’s interior looks tired, dusty, or stained, you don’t need to pay a detailer $150 to $300 to fix it. How to detail a car interior is a skill any car owner can master in an afternoon. The real payoff comes from knowing the exact sequence—vacuuming first, then cleaning surfaces, then protecting them with the right products. This post walks you through how to detail a car interior step by step so your cabin feels and looks brand new.
The Complete Car Interior Detailing Process at a Glance
Before diving into the work, here’s what you’re actually doing when you learn how to detail a car interior. You’re removing debris, treating stubborn stains, restoring color and texture, and applying protective coatings that keep dirt from bonding to surfaces. The order matters more than the products.
| Detailing Stage | Primary Focus | Time Required | Key Benefit |
|---|---|---|---|
| Vacuuming and Debris Removal | Seats, carpets, crevices | 20–30 minutes | Prevents dirt from being rubbed into fabric during cleaning |
| Surface Cleaning | Dashboard, door panels, trim | 25–35 minutes | Removes grime, stains, and oxidation from hard surfaces |
| Fabric and Leather Treatment | Seats, carpets, upholstery | 20–30 minutes | Lifts embedded dirt and restores appearance |
| Protection Application | All surfaces | 15–20 minutes | Creates barrier that repels future dirt and UV damage |
Pre-Detailing Checklist: What to Do Before You Start
Most people jump straight into vacuuming without preparing, which means they end up doing the job twice. Use this checklist to set yourself up for success.
- Remove all personal items from cup holders, door pockets, and the center console
- Shake out floor mats outside and inspect them for damage or excessive wear
- Loosen any trapped debris from seat crevices with a detailing brush or old credit card
- Check weather and plan your work for a dry day with access to water or a garage
- Gather all your cleaning supplies and products before opening the car doors
- Test any new product on a hidden area first, especially leather or dyed fabrics
The Complete Step-by-Step Process for How to Detail a Car Interior
Condition
Your car interior has collected weeks or months of dust, crumbs, hair, and surface grime. Seats are dull. The dashboard looks hazy. Carpets are matted down.
Audience
You own a 2015 or newer car with cloth or leather seats. You’ve never paid for professional detailing. You want results that last at least a few months.
Method
Follow this exact sequence: vacuum everything, then clean hard surfaces, then treat fabrics, then apply protectants. Why this order? Vacuuming first removes loose debris. Cleaning next tackles grime on hard plastic and leather. Treating fabrics last prevents you from pushing dirty water into upholstery. Protectants go last because they need to bond to clean surfaces.
The Actual Steps
- Start with the driver’s seat. Recline it fully and vacuum every inch including the seat rails, crevices, and underneath where crumbs collect. Move to passenger, rear seats—same process for each. Vacuum your floor mats separately outside your car, paying attention to the backing side where dirt embeds deep.
- Use a crevice tool to vacuum between seat cushions, under the steering wheel column, and along the door sills. Here’s where most people give up because it feels tedious. This is the part that actually matters. Debris left behind gets rubbed into fabric when you treat seats, leaving permanent stains.
- Vacuum the front and rear floor areas using overlapping passes. Move the seats all the way forward, then clean the back seat area. Move the seats back and get the front. Vacuum under the pedals and anywhere a foot has touched. Get the trunk next—many people skip this because it’s out of sight. Your car will thank you.
- Now clean hard surfaces. Mix your dashboard cleaner according to instructions and apply it with a microfiber cloth using circular motions on the dashboard, steering wheel, and door panels. Wipe with a dry cloth. The steering wheel collects more oil and dirt than you’d think—use a separate cloth for that area.
- Address the windows and mirrors using glass cleaner and a lint-free cloth or newspaper. Streak-free windows matter more than most owners realize. Streak-filled glass makes the whole interior look neglected even if everything else is clean.
- For fabric seats, apply your chosen cleaner—foam, spray, or liquid solution—according to product instructions. Use a soft-bristled brush to work the product into the fabric in gentle circular motions. Let it sit for the recommended time, usually 5–10 minutes. Wipe thoroughly with a clean, damp cloth to remove all residue. Incomplete rinsing leaves a sticky residue that attracts dirt faster than if you’d left the seat alone.
- For leather seats, use a leather-specific cleaner and conditioner. Apply with a soft cloth using light pressure. Leather isn’t as hardy as people think—aggressive scrubbing damages the finish. Leather dries out without conditioning, so this step prevents cracking in older cars.
- Apply your chosen protectant to hard surfaces last. Most protectants come as sprays or wipe-on liquids. Apply thin, even coats and wipe off excess immediately to avoid buildup or streaking. Protectants work best on completely dry, clean surfaces—any moisture underneath prevents proper adhesion.
- Let everything dry for at least 30 minutes before closing windows or driving. Protectants need time to cure. Closing windows too early traps moisture and can create odor.
Warnings
Never use water-based cleaners on wooden trim—it causes swelling and discoloration. Don’t mix different cleaning products; chemical reactions can damage surfaces or create toxic fumes. If your car has navigation screens or digital displays, avoid getting liquid cleaner on them completely. You’d think rubbing alcohol cleans these safely—it usually doesn’t. Isopropyl alcohol can degrade the coatings. Use only microfiber cloths on screens.
Deep Cleaning: Tackling Vacuuming, Stains, and Problem Areas When Detailing a Car Interior
After the basic clean, most interiors look dramatically better. Some cars need more work.
I’ve been using a wet-dry vacuum for interior detailing for years, and the difference it makes is massive. Cordless handheld models with multiple attachments work great for tight spaces. Wet-dry models handle both the initial dry vacuum and any liquid spills. If you rent instead of buying, expect to spend between $20 and $40 per day depending on your location and machine quality.
For stubborn stains, you have choices. Enzyme-based cleaners work on organic stains like food, blood, or urine. Solvent-based cleaners handle oil and grease. Oxidizing cleaners work on tannins and hard water marks. Pick the wrong type and you’ll spend hours getting nowhere. Most fabric stains respond to enzyme cleaners first—that’s your safe default. Test it on the back of a seat where no one sits before applying it to visible areas.
I’ve seen so many drivers ruin their leather trying to use fabric cleaners on it. Leather needs different chemistry. Fabric cleaners often contain surfactants that break down the protective oils in leather. Use leather-specific products. They cost maybe $2 to $5 more than generic cleaners and actually work.
My Picks for This
- Bissell Little Green — A compact, powerful wet-dry vacuum designed for upholstery and tight interior spaces with quick-release accessories.
- Meguiar’s All Season Interior Detailer — A professional-grade spray cleaner and protectant in one that works on dashboards, plastic, and leather without leaving residue.
- Chemical Guys Leather Cleaner and Conditioner — pH-balanced solution that cleans embedded dirt from leather seats and restores suppleness without over-oiling.
- Turtle Wax Dry & Shine — An affordable hard-surface protectant that creates a durable UV shield on dashboards and reduces dust attraction by weeks.
- CARPRO Cquartz Interior Guard — A ceramic-based spray protectant that bonds to fabric and plastic, offering longer-lasting stain resistance than traditional protectants.
How Long Does a Professional Interior Detail Last Compared to DIY?
Professional detailers use industrial-grade equipment and products, so their results often look slightly sharper. However, how to detail a car interior yourself produces results that last just as long if you use the right products. Most interior details—professional or DIY—stay clean for 4 to 8 weeks depending on how much you drive and eat in your car. The products matter more than who applies them.
If you vacuum every two weeks and wipe surfaces monthly with a basic cleaner, you can extend the time between full details to 8 to 12 weeks. Many car owners don’t realize this—they think full details are a once-a-year thing. Smaller maintenance cleanings in between are way faster and keep your interior in showroom condition all year.
Frequently Asked Questions (FAQ)
Q1. Do I need a wet-dry vacuum to properly vacuum, clean, and protect surfaces when learning how to detail a car interior?
No, but it helps. A regular household vacuum with upholstery attachments works. Wet-dry models are better because they handle liquid spills and have more suction power. If you detail your car only once a year, a standard household vacuum is fine. If you do it quarterly, invest in a dedicated upholstery vacuum—they cost between $30 and $150 depending on the brand and features.
Q2. How much time should I actually plan for how to detail a car interior from start to finish?
Budget 2 to 3 hours for a thorough job if you’re doing it for the first time. Once you’ve done it twice, you’ll complete it in 90 minutes to 2 hours. The vacuuming stage takes the longest. If your car is heavily stained or dusty, add 30 to 45 minutes for deep cleaning and spot treatments.
Q3. Is it safe to use the same products on leather and fabric, or do I need different cleaners?
Use different products. Leather needs pH-balanced cleaners that won’t dry it out or damage the finish. Fabric cleaners contain surfactants that break down leather oils. Using the wrong product can cost you $500 to $2,000 in leather restoration later. Buy separate products—they’re cheap insurance.
Q4. What protectant should I use on plastic trim versus cloth seats when learning how to detail a car interior?
Use hard-surface protectants on plastic dashboards, door panels, and trim. Use fabric protectants on upholstery. Putting plastic protectant on fabric leaves a sticky, shiny residue that looks cheap and attracts more dirt. They’re formulated differently for a reason. Most brands make both versions—read the label before buying.
Q5. How often should I repeat the full how to detail a car interior process to keep things looking good?
Do a full detail every 6 to 12 weeks depending on how much you use your car. If you eat or drink inside regularly, every 6 weeks. If you’re careful, every 12 weeks works. Between full details, vacuum every 2 weeks and wipe the dashboard monthly. This prevents buildup so each full detail takes less time and effort.
Q6. Can I skip the protection step when learning how to detail a car interior, or is it really necessary?
You can skip it, but protectants reduce staining and UV damage. They make future cleaning easier because dirt doesn’t bond as firmly to protected surfaces. If you detail frequently—every 6 weeks—protectants are worth the extra 15 minutes. If you detail once a year, they’re optional but still worth applying.
This post is for informational purposes only and does not constitute professional mechanical advice, legal advice, financial advice, or insurance guidance. Automotive repairs, installations, and modifications involve inherent risks — always consult a certified mechanic or licensed professional before performing any work on your vehicle. Car prices, insurance rates, EV tax credits, product specs, and availability are subject to change without notice and may vary by location, dealership, and individual circumstances. Always verify current details directly with manufacturers, retailers, dealerships, insurance providers, and relevant government agencies before making any purchase or financial decision. Fuel economy figures, EV range estimates, and performance data referenced in this post are based on manufacturer or third-party estimates and may differ from real-world results. This site may contain affiliate links — if you purchase through our links, we may earn a commission at no additional cost to you. Product recommendations are based on general research and editorial judgment; we do not guarantee suitability for your specific vehicle, driving conditions, or personal situation. Always read product instructions, vehicle owner manuals, and safety warnings before use.