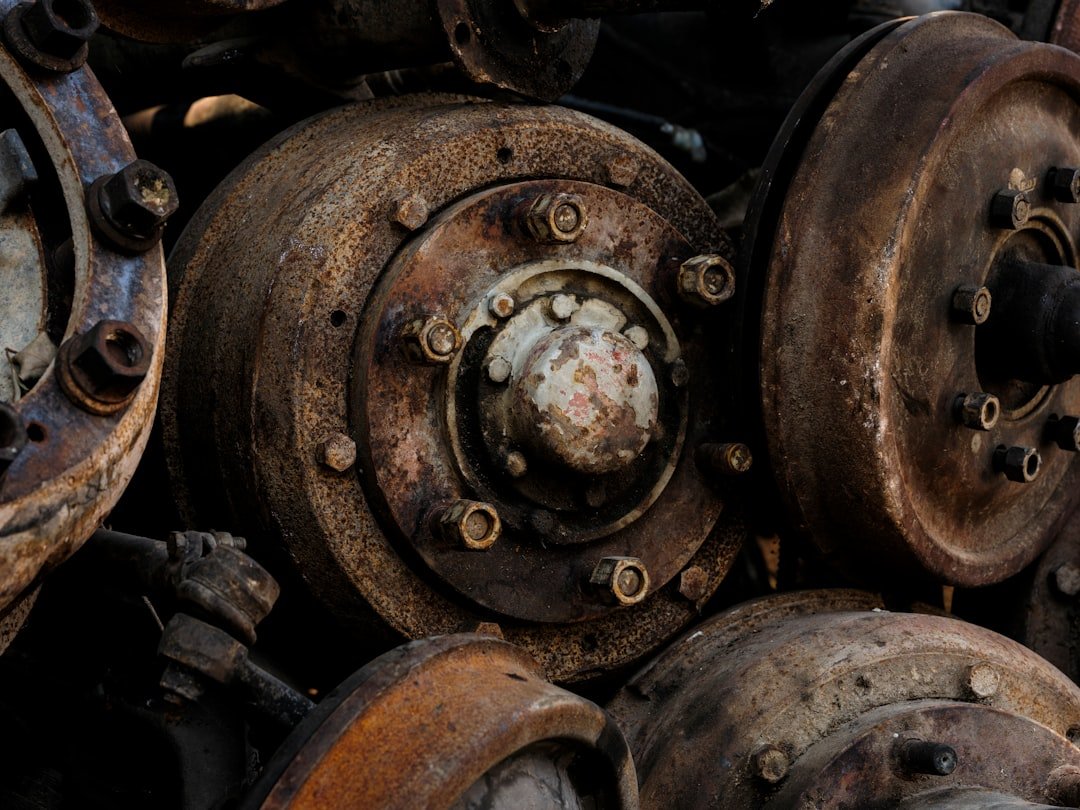
How to remove rust from car undercarriage parts starts with a close inspection, then cleaning, mechanical rust removal, chemical treatment where needed, primer, and a suitable protective coating. Start safely. How to remove rust from car undercarriage areas also depends on whether the corrosion is surface-level or has already weakened metal, especially around suspension mounts, brake lines, fuel lines, and structural rails.
Light orange staining and flaky scale on a subframe, axle housing, or skid plate are often manageable at home if you can reach the area safely. Deep rust is different. If a screwdriver pushes through the metal, a suspension bracket is thinning, or a brake or fuel line is heavily corroded, stop work and have a reputable repair shop inspect it before you drive the vehicle again.
Assess the rust before you buy supplies
Wash away mud, road salt, and loose flakes before deciding how bad the corrosion is. Dirt hides damage. Use a bright work light and inspect seams, welded brackets, jack points, floor pans, rocker-panel pinch welds, crossmembers, control arms, and the areas around brake-line clips.
| What you see | Typical DIY response | When to stop |
|---|---|---|
| Light brown surface rust | Wire brush, rust treatment, primer, coating | Metal is sound when tapped or probed |
| Thick flaking scale | Remove loose scale and inspect closely | Rust covers seams, mounts, or line fittings |
| Holes, cracks, swelling seams | Do not cover it as a cosmetic repair | Get a professional structural assessment |
| Rusty brake or fuel lines | Clean only for inspection | Any pitting, wetness, damage, or severe scaling |
Do not judge the job by color alone. A dark, stained frame rail can still be solid, while a black undercoating layer may hide corrosion that has been working underneath for years. Tap gently with a small hammer and probe cautiously with a pick, but do not jab hard at brake lines, fuel lines, wiring, or plastic vapor lines.
Tools and materials that make the job easier
A pressure washer or garden hose, degreaser, stiff nylon brush, wire brush, scraper, shop vacuum, safety glasses, gloves, and a respirator rated for paint and chemical vapors cover the basic prep work. Wear eye protection. A drill-mounted wire wheel can save time on open, sturdy metal, though it can throw sharp debris and remove more material than you expect around thin panels.
- Wheel chocks and properly rated jack stands.
- Rust converter or rust remover suitable for automotive steel.
- Automotive rust-inhibiting primer.
- Chassis paint or underbody coating compatible with that primer.
- Masking paper, tape, and cardboard shields.
- Cavity wax or corrosion inhibitor for enclosed seams.
Read every product label before combining materials. Compatibility matters. Some coatings will not adhere over oily rust inhibitors, while certain rust converters need a clean, dry surface and a stated cure time before primer goes on.
How to remove rust from car undercarriage areas
Work on a cool, dry day if possible, and give the underside enough time to dry after washing. Moisture ruins adhesion. Never work beneath a vehicle supported only by a hydraulic jack, and place jack stands at approved support points listed in the owner’s manual or service information for your specific vehicle.
- Wash the underside. Rinse off salt and mud, then use degreaser on oily areas. Avoid forcing high-pressure water directly into electrical connectors, wheel bearings, seals, or intake openings.
- Dry and mask sensitive parts. Keep chemicals and paint off brake rotors, pads, rubber bushings, exhaust sensors, driveshaft seals, wiring plugs, and drain holes. Cover nearby parts with cardboard rather than wrapping components tightly.
- Remove loose rust mechanically. Scrape thick flakes first, then use a hand wire brush or wire wheel until loose scale is gone. Bare shiny steel is ideal, but firmly attached staining does not always need to disappear completely.
- Clean the surface again. Vacuum debris and wipe the metal with the cleaner recommended by the coating maker. Let it dry fully. This step decides whether paint sticks or peels.
- Treat remaining corrosion. Apply rust converter only to the areas and thicknesses allowed on its label. Most need time to react and cure, so do not rush to paint over a wet or tacky surface.
- Prime exposed steel. Use thin, even coats of an automotive primer designed for rust protection. Heavy coats sag easily under a vehicle and can trap solvent.
- Apply the final coating. Chassis paint works well on visible metal parts, while a paintable underbody coating may suit broad floor-pan areas. Keep every drain hole and access hole open.
Thin coats win here. Two or three light passes generally cure more evenly than one thick layer, and they make future inspection easier because new rust will show at chips or damaged edges. Follow the product’s temperature, recoat, and cure instructions rather than relying on a generic overnight schedule.
Protecting against future rust damage
Preventing future rust damage is mostly about removing salt and keeping water from sitting in seams. Rinse the undercarriage after winter-road driving, coastal trips, muddy off-road use, or any drive through brine-treated roads. A simple rinse helps.
Check drain holes along rocker panels, doors, tailgates, and frame sections during routine washing. Leaves and packed mud hold moisture. If your vehicle has boxed frame rails or enclosed rocker cavities, a creeping cavity wax or corrosion inhibitor can protect areas that paint cannot reach, provided it is applied away from hot exhaust parts and according to the product directions.
Inspect the underside twice a year, ideally before winter and after the last salted-road season. Catch chips early. A small stone chip on a control arm or frame can be cleaned and touched up in an afternoon; waiting until rust spreads behind coating turns the same spot into a bigger, messier job.
Common mistakes that shorten the repair
Painting over wet mud, loose scale, or oily undercoating is the usual failure point. The new layer may look clean for a while, but water can remain underneath and continue corroding the steel out of sight. Prep takes time.
Also avoid rubberized coatings on unknown, active rust unless the manufacturer specifically allows that use and the surface preparation is complete. A thick sealed layer can hide future problems. For older vehicles in salt regions, a removable oil- or wax-based corrosion inhibitor often makes annual inspections and touch-ups less frustrating than trying to permanently seal every crevice.
Do not spray coatings onto exhaust pipes, catalytic converters, brake hardware, belts, pulleys, or steering joints. Keep it clean. If you find a rusted mounting point, cracked subframe, corroded brake line, leaking fuel line, or compromised seat-belt anchor area, cosmetic coating is not the repair. Have the vehicle evaluated before putting it back into normal use.
Frequently asked questions
Can I remove undercarriage rust without lifting the car?
You can rinse, inspect, and treat some outer edges without lifting it, but access will be limited. Limited access matters. A proper job usually needs safe clearance on ramps or jack stands so you can see seams and avoid spraying chemicals blindly near brakes, exhaust parts, and wiring.
Should I use a rust converter or remove all rust first?
Remove every loose flake and as much corrosion as practical first, then use a converter on the remaining tightly bonded rust if its instructions allow it. Clean metal lasts longer. Converter is not a substitute for repairing perforated steel or replacing unsafe components.
How often should I reapply undercarriage protection?
Painted repairs should be inspected at least twice a year and touched up when chipped. Wax- and oil-based products commonly need periodic renewal, particularly after winter, heavy rain, or repeated underbody washing. Check the product guidance because formulas and local driving conditions vary.
Is surface rust on suspension parts normal?
Some light surface rust on cast iron and unfinished steel parts is common, particularly in wet or salted-road areas. Look closer. Heavy scaling, swollen seams, metal loss, cracked brackets, or corrosion near steering, suspension, brake, and fuel components needs more than a cosmetic cleanup.
Related posts
This article is for general informational purposes only and is not mechanical, legal, financial, or insurance advice. Prices, insurance rates, tax credits, and manufacturer-stated fuel economy or EV range are estimates that change over time and vary by vehicle, region, and provider — always verify current figures with a dealer, mechanic, insurer, or official source before making a decision.
Disclosure: This post may contain affiliate links. If you click through and make a purchase, we may earn a commission at no extra cost to you. We only recommend products we’ve researched or genuinely believe in.