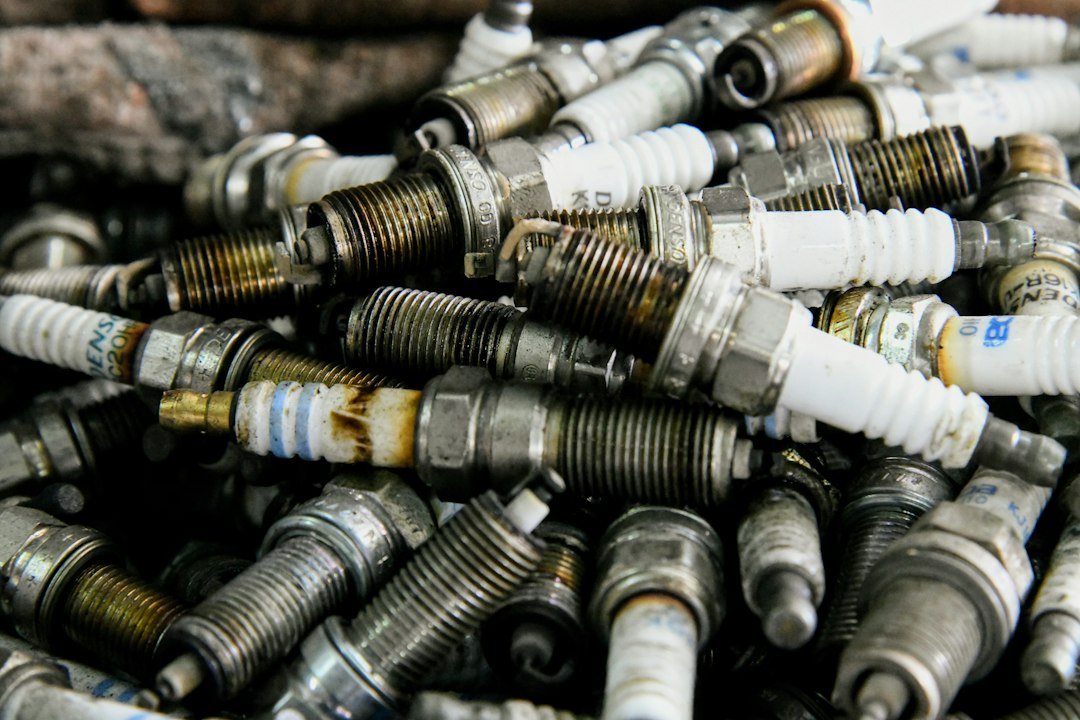
A common misconception is that spark plugs are a universal, quick swap with a single wrench. They are not. Learning how to replace spark plugs yourself is usually straightforward on an engine with open access, but modern coil-on-plug engines can hide plugs under covers, intake parts, or tight cowl areas. Another misconception is that tighter is safer. It is not. The job is about using the exact plug specified for the engine, keeping dirt out of the cylinders, and tightening each plug correctly.
Before you replace spark plugs yourself
Start with the owner’s manual or the manufacturer’s service information for your exact year, engine, and market. Details matter. Confirm the correct plug part number, plug gap specification, replacement interval, and tightening specification before buying parts or removing anything. Some engines use conventional nickel plugs, while others require platinum or iridium plugs designed to last much longer. Installing a cheaper plug that fits physically can cause misfires, poor running, or a shorter service interval.
Do this job on a cold engine. Hot aluminum cylinder heads are easier to damage, and hot exhaust parts can burn you quickly. Give the vehicle several hours to cool. Park on level ground, set the parking brake, and keep loose clothing away from the engine bay. If your vehicle has a conventional distributor and spark plug wires, label each wire before removal. One wire at a time is safer.
Check access before committing. On many four-cylinder engines, plugs sit along the top of the valve cover beneath individual ignition coils. That is the easy layout. V6 and V8 engines may have a rear bank close to the firewall, and some transverse engines require removal of intake ducting, braces, or the upper intake manifold. If access requires major disassembly, getting a repair estimate first can be sensible.
Tools and parts to gather
Use a proper spark plug socket, usually with a rubber insert or magnetic retainer, plus the correct ratchet, extensions, and a torque wrench that covers the required range. Buy the right tools first. A small amount of dielectric grease can be useful inside coil boots or wire boots, but it does not go on the plug electrodes or threads. A compressed-air source, vacuum, or soft brush also helps clean the plug wells.
| Item | Why it matters | What to avoid |
|---|---|---|
| Correct replacement plugs | Matches heat range, reach, electrode design, and specified gap | Choosing by thread size alone |
| Spark plug socket | Holds the plug securely in a deep well | Using a loose standard socket |
| Torque wrench | Helps prevent loose plugs or damaged threads | Guessing by feel on aluminum heads |
| Extension and swivel | Reaches recessed plugs without forcing the angle | Loading the plug sideways |
| Dielectric grease | Can help seal and release rubber boots | Smearing it on electrodes or threads |
Do not assume new plugs are ready to install without inspection. Check every box label against the part number you researched, then examine each plug for shipping damage, cracked porcelain, bent ground electrodes, or an incorrect gap. Many fine-wire platinum and iridium plugs arrive pre-gapped. Leave them alone unless the plug maker and vehicle information specifically say adjustment is permitted. Prying on a fine center electrode can ruin a new plug.
Step by step guide for removal
- Remove engine covers carefully. Plastic covers may pull upward from rubber grommets, while others use bolts. Put fasteners in a tray. A missing bolt is frustrating.
- Work on one cylinder at a time. Disconnect the electrical connector from one ignition coil, then remove its retaining bolt if fitted. Pull the coil straight up with a gentle twist. Do not yank the wiring.
- Inspect the plug well. Look for sand, leaves, water, oil, or debris around the old plug. Clean the well before loosening anything. Dirt in the cylinder is trouble.
- Loosen the old plug. Lower the spark plug socket squarely onto the plug, attach the extension and ratchet, and break it loose with steady pressure. Keep the tool aligned with the plug well.
- Remove it slowly. Once loose, spin the plug out carefully and lift it out with the socket. If it binds badly after the initial breakaway, stop. Forcing a seized plug can damage cylinder-head threads or break the plug.
Pay attention to what comes out. A normal used plug may have light tan, gray, or dry dark deposits, depending on fuel, driving pattern, and engine design. Heavy wet oil, thick soot, melted electrodes, or a cracked insulator can point to an issue beyond routine maintenance. Save the plug and have a qualified shop assess the vehicle if it runs poorly, has a flashing check-engine light, or shows obvious damage. New plugs alone may not cure the underlying cause.
Installing the new spark plugs
Compare the old and new plugs side by side before installation. Verify the threaded reach and electrode end look appropriate. A wrong plug can thread in yet still be unsuitable for the combustion chamber. Also confirm that any removable terminal nut on the new plug matches the design of your ignition coil or plug-wire connector. Small differences count.
Put the new plug into the socket and lower it gently into the well. Start the threads by hand, using the extension without the ratchet if possible. This is the key move. The plug should turn several full rotations with very little resistance; if it does not, remove it and start again rather than trying to force it. Cross-threading an aluminum head can turn a basic service job into an expensive repair.
Once the plug seats, tighten it with a torque wrench to the vehicle manufacturer’s specification. Use the specification for your exact engine and plug type. Spark plug torque is not one universal number because thread diameter, head material, gasket style, and seat design all affect it. Do not rely on a generic online chart when the manual gives a specific figure.
Most modern plugs have plated threads and generally should be installed dry unless the plug manufacturer specifically directs otherwise. Skip anti-seize by default. Anti-seize changes friction, which can make a plug tighten more than the torque wrench reading suggests, and it can contribute to overtightening if the procedure was designed for dry threads. If a manufacturer calls for a compound, use only the specified product and method.
If you use dielectric grease, apply a tiny smear inside the rubber boot near its opening, not on the metal terminal or plug tip. Less is better. Reinstall the coil until it seats fully, reinstall its bolt to the correct specification if one is published, and reconnect the electrical plug until it clicks. Then move to the next cylinder. Keeping the process one cylinder at a time prevents connector mix-ups.
Final checks after the job
After all plugs and coils are back in place, inspect the engine bay before starting. Check every electrical connector, coil bolt, intake hose, and engine-cover fastener you touched. Remove tools and old parts. Start the engine and let it idle for a minute while listening for a stumble, ticking sound, or rough idle. A smooth idle is a good sign.
If the engine shakes, misfires, or triggers a check-engine light immediately, shut it off and recheck your work. Begin with the simplest causes: an unplugged coil connector, a coil not fully seated, a loose coil bolt, or the wrong plug installed in a cylinder. A flashing check-engine light needs prompt attention because continued driving during an active misfire can damage the catalytic converter. Do not keep revving it to see if it clears.
Keep the old plugs until you know the engine runs normally through a short drive. Also record the date, mileage, plug brand, and part number in your maintenance notes. That record helps with future service and makes it easier to spot an unusually early plug problem. For vehicles with difficult rear-bank access, fragile aging connectors, or suspected thread damage, a reputable shop is often the cheaper choice in the long run.
Related posts
This article is for general informational purposes only and is not mechanical, legal, financial, or insurance advice. Prices, insurance rates, tax credits, and manufacturer-stated fuel economy or EV range are estimates that change over time and vary by vehicle, region, and provider — always verify current figures with a dealer, mechanic, insurer, or official source before making a decision.
Disclosure: This post may contain affiliate links. If you click through and make a purchase, we may earn a commission at no extra cost to you. We only recommend products we’ve researched or genuinely believe in.